dessert

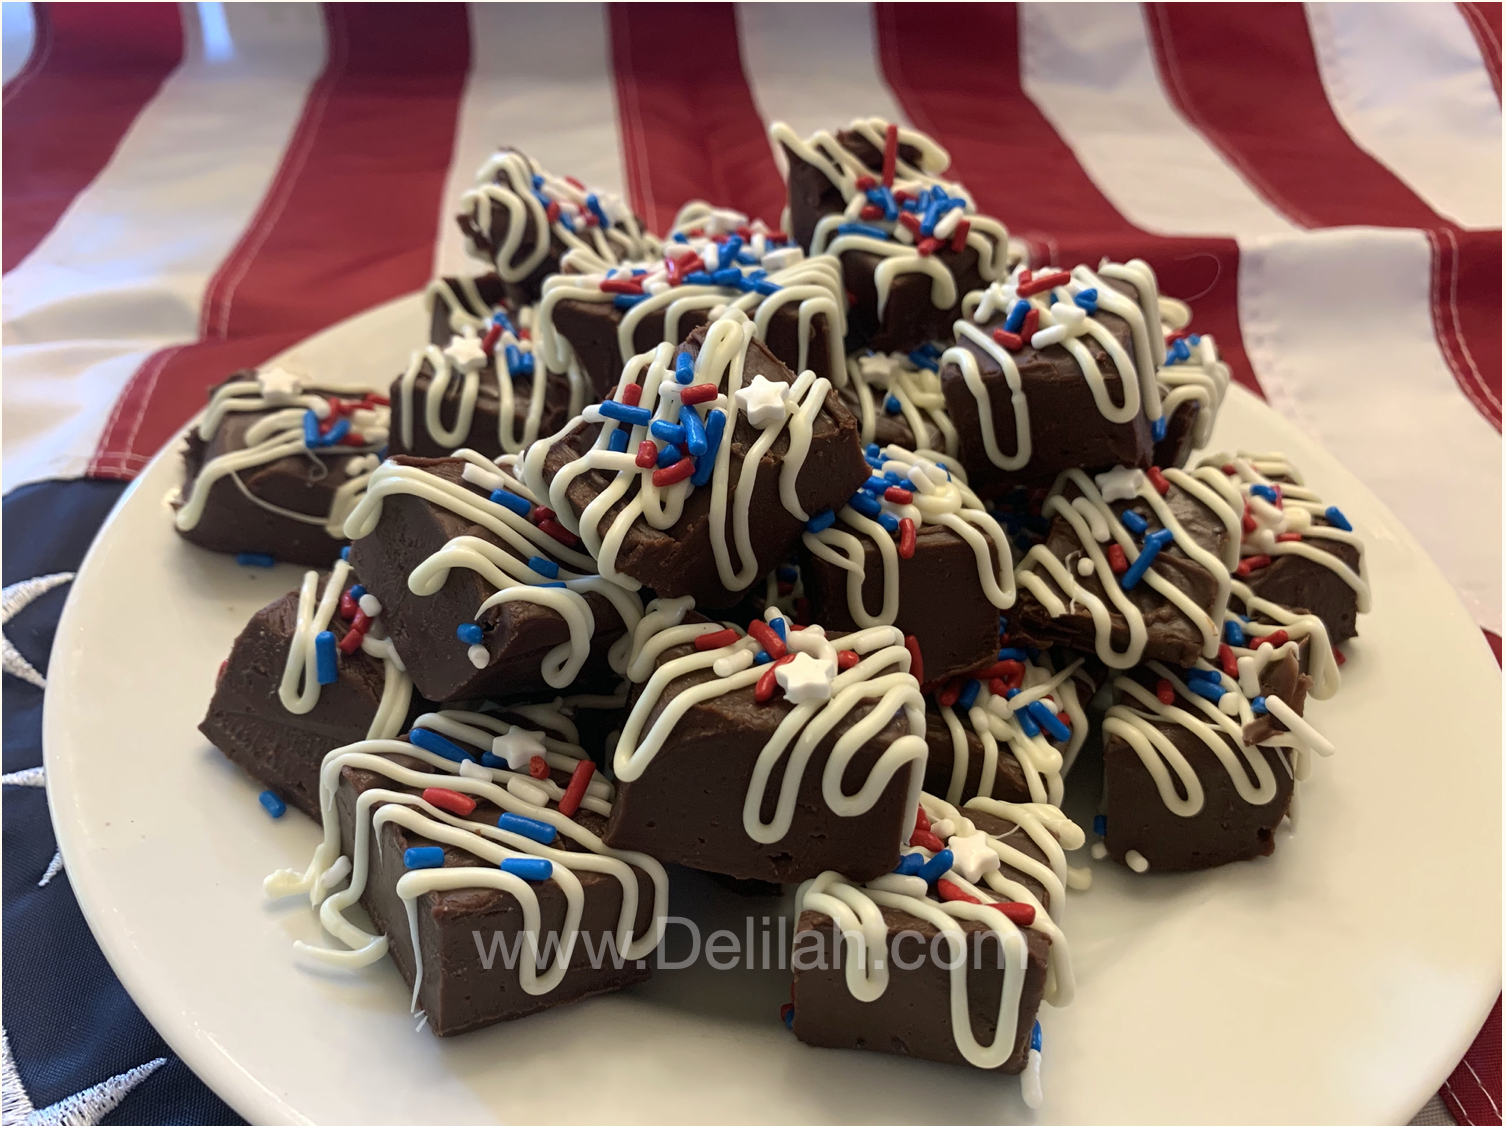
Freedom Fudge

Screen Shot 2021-07-02 at 7.43.19 AM.png

Reprinted from June 2021

Am I the only one that gets a hankering for “out of season” foods? I think not. So when a friend said they were making “Freedom Fudge” to share at an Independence Day gathering, my eyes lit up and my mouth watered.

And besides, as someone who grew up in a coastal town, summer tourism and fudge shops are pretty synonymous. But you don’t see fudge recipes circulating much in the summer time, they usually show up in our feeds around Thanksgiving. I mean to change that with this post!

This quick-fudge recipe, that makes a plate-full of rich little morsels in a jiffy, calls for only 3 ingredients.

It’s so quick and easy, you can make them any day of the year and the recipients will almost certainly erupt in smiles of gratitude.

My friend dressed them up for the 4th of July by drizzling melted white chocolate over the top and adding some red, white, and blue sprinkles. That seems like a lot of work to me, but if you want to, go ahead!

Ingredients:

  • 1 12oz package semi-sweet chocolate chips

  • 1 14oz can sweetened condensed milk

  • 2 Tablespoons unsalted butter


Directions:

  1. Place sweetened condensed milk and butter in saucepan and heat on stovetop on medium heat until butter is melted.

  2. Turn off heat and add chocolate chips, stirring until melted and mixed thoroughly.

  3. Pour into 8”x8” baking dish lined with waxed paper.

  4. Chill in refrigerator 3 hours or over night.

  5. Cut into squares and serve.


Double this recipe for a larger crowd and use a 9”x13” pan. Feelin’ nutty? Add half a cup chopped walnuts. Going soft? Toss in a cup of mini-marshmallows. Trying to lighten up? Substitute white chocolate chips….

Keep it simple, or make it a show-stopper, ‘cuz hey, it’s a free (and almost fully open) country!

Freedom Fudge; your fudge, your way. Any time of the year!

Delilah logo red.png


Red White & Blue - Berry Bites

Screen Shot 2020-06-29 at 12.09.09 PM.png

Reprinted from July 2020

President’s Day, Memorial Day, Flag Day, Independence Day, or Veteran’s Day… there are many designated holidays throughout the year that encourage us to celebrate the American Spirit. One way to do that is to serve up a little red, white, and blue on the buffet table.

I'm not quite sure that Red White & Blue - Berry Bites qualify as a "recipe" as much as it does as a "craft", but since it is definitely edible (very, deliciously edible) I'm filing under both categories.


Ingredients:

  • Red ripe strawberries, rinsed, stem on

  • White chocolate chips - melted

  • Blue sugar crystals

  • Waxed or parchment paper

Instructions:

  1. Take a sweet, red, beautiful strawberry, holding the stem end in your fingers, dip the tip - up to about 3/4  of the berry into melted white chocolate, then immediately dip it again - leaving a band of white - into blue sugar sprinkles. Place on parchment or waxed paper to "set".  Voila! 

Friend, and Point Hope Director, Jan, made some up with daughter Erin and grandkids; while she thought that perhaps they weren't as picture perfect as the ones from a magazine, there's no doubt a ton of fun and even more love went into their creations.

This is an uncomplicated but showy display of patriotic pride with a berry big blast of flavor! Have fun with it!

Pumpkin Cheesecake

Mmmmm. I haven’t made my annual skating in Central Park trip to New York now for a few years. I miss seeing all my East Coast friends, I miss the city that never sleeps, Broadway performances, window displays, and boy, oh boy, do I miss Junior’s sandwiches and cheesecakes!!!

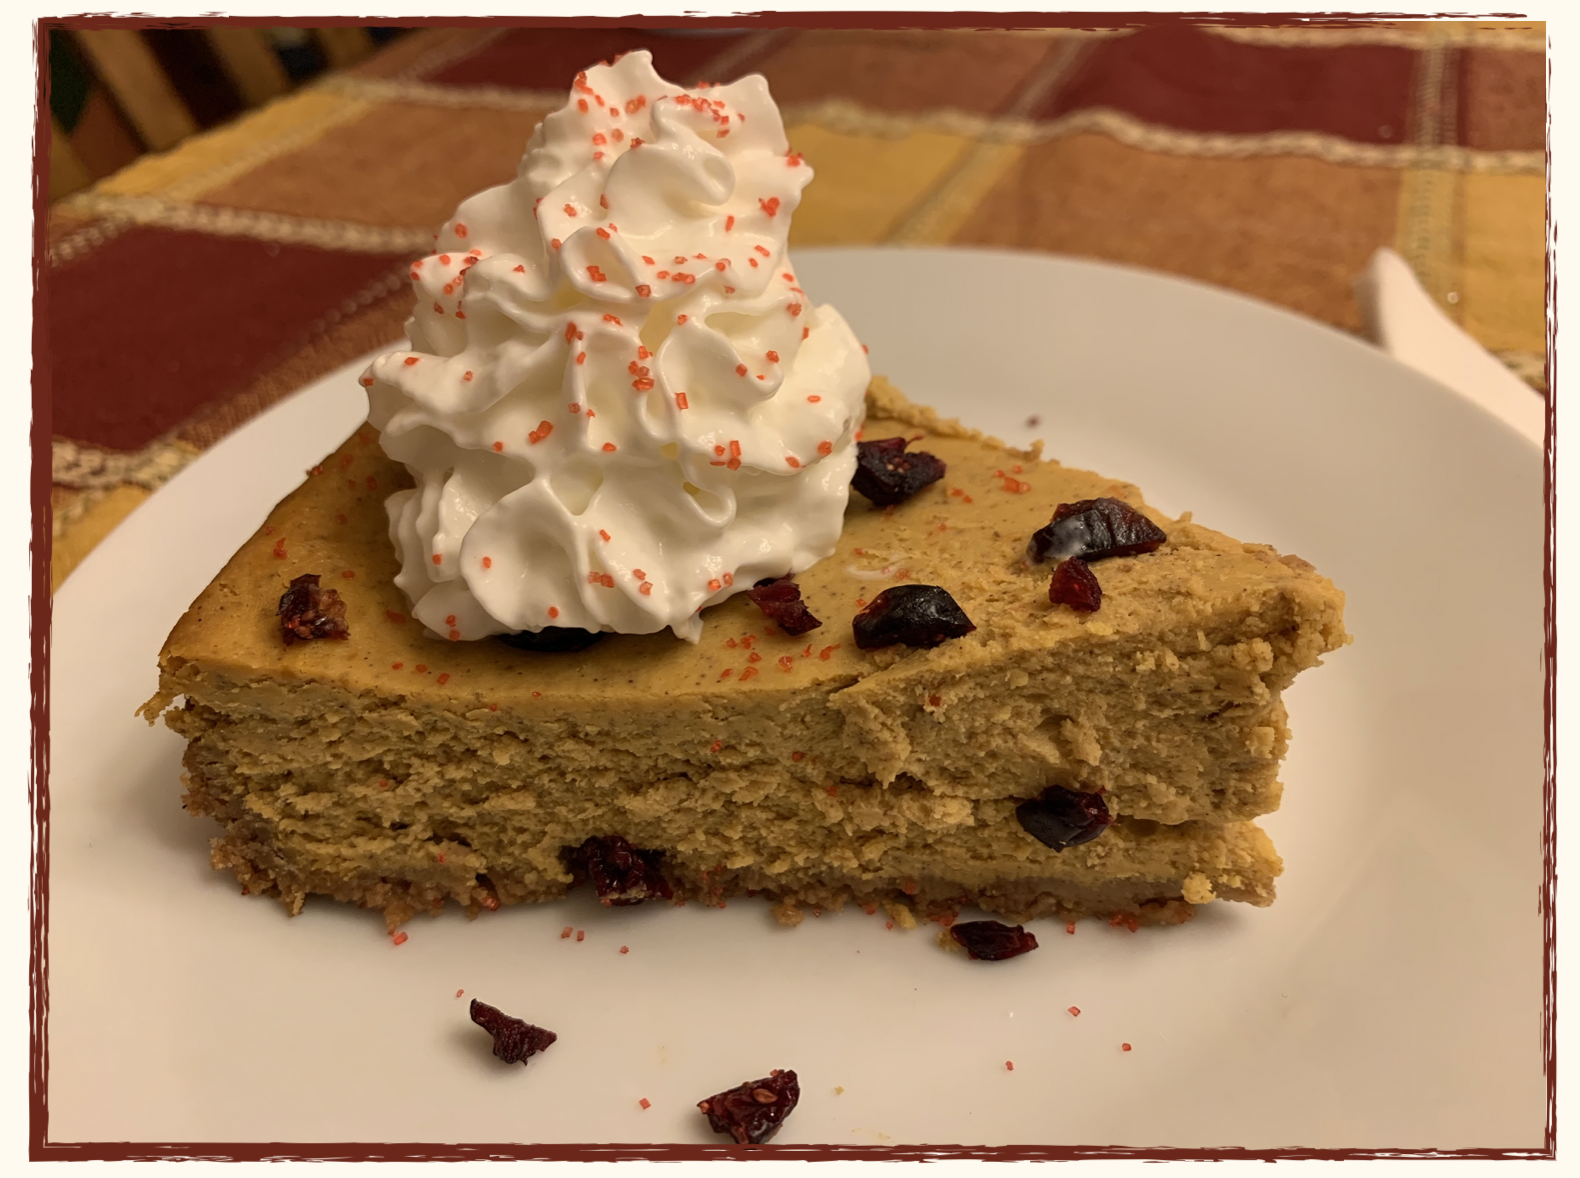
This little number showed up on a holiday table recently and alllllmost scratched my cheesecake itch. (The flavor was there, just not the jostling crowds, noises, and endless energy found in the Junior’s dining room!)

It’s your basic graham cracker crust cheesecake recipe, all dressed up in fall finery with the addition of 15oz of pumpkin and her spicy companions we just can’t seem to live without.

Wow your family and your guests, or simply indulge yourself with this decadent little treat.

Ingredients:

Crust:

  • 1 1/2 cups graham cracker crumbs

  • 6 Tbsp unsalted butter, melted

  • 1 Tbsp sugar

  • 1 tsp cinnamon

Filling:

  • 3 (8oz) packages cream cheese, softened

  • 1 1/2 cups packed light brown sugar

  • 15oz canned pumpkin

  • 4 large eggs

  • 1/4 cup sour cream

  • 2 tsp pumpkin pie spice

  • 1/4 tsp salt

  • 1 Tbsp vanilla extract

Directions:

Preheat Oven to 350˚F.

Crust:

1. Use a food processor to pulse graham crackers to create fine crumbs .

2. In a medium bowl, mix together graham cracker crumbs, melted butter, sugar, and cinnamon. Dump into a 9” springform cheesecake pan and use a cup, glass, or large spoon to press the mixture down covering the bottom of your cake pan and pushing 1/3-1/2 of the way up the sides.

3. Bake at 350˚F for 8-10 minutes. Allow to cool before adding cheesecake filling.

Filling:

  1. In a medium bowl, beat the cream cheese and brown sugar on smooth (no lumps, bumps, or chunks!).

  2. In a separate bowl, whisk together pumpkin, eggs, sour cream, pumpkin pie spice, salt and vanilla extract. Add this well-combined mixture to the cheesecake filling and continue mixing on low speed just until uniform in color and consistency.

  3. Pour filling into pre-baked crust, place in oven on middle rack, and bake at 350˚F for 1 hour. Turn off heat, prop the oven door open slightly, and allow to cool for 1 hour. *

  4. Remove from the oven and allow to cool a bit longer, until the cheesecake reaches room temperature. Then cover and refrigerated at least 4 hours or overnight.

  5. Just before serving, remove from its springform pan (run a knife along the sides, then release the spring and remove the rim.)

  6. Serve with whipped cream and a sprinkling of cinnamon or pumpkin spice mix.

    *Note - If you are comfortable doing so, use the water-bath method to bake. Cheesecakes love moist environments and this will help to prevent the top from cracking and the center from falling. (If you’re NOT all that comfortable with water-baths, skip it!)

Recipe | Cake Batter Protein Bites

IMG_0260.JPG

Love is in the air…

Valentine’s Day might have been conceived as a marketing ploy by the holiday card companies but it is one of my favorite days of the year. And while my motto is to Love Someone all year long, it is nice that there’s a whole 24 hours dedicated to spending quality time with your sweetheart (or whomever it is you love & adore).

Baking an entire cake from scratch on a weekday is a find aspiration, but sometimes just isn’t in the cards (heart-shaped ones or not!) because of our busy lives. So often, we’re then tempted to grab something from the nearest grocery or convenience mart that comes in a box and is guaranteed to be full of processed coloring and added sugars.

So, if you are anything like me and are trying to stay healthy-ish as we embark upon a new decade, but still want to enjoy a sweet TREAT this Valentine’s Day…do I have a sweetheart of a deal for you with these delicious little protein bites!

CAKE BATTER PROTEIN BITES

NO BAKING REQUIRED!
Serving Size: 18-20

Ingredients:

IMG_0261.JPG
  • 3 cups Coconut Flakes

  • 3 cups Organic Coconut Oil, melted

  • 3/4 cup Almond Flour

  • 6 Tablespoons Maple Syrup

  • 3/4 cup Vanilla Protein Powder

  • 1 teaspoon Sea Salt

  • Sprinkles (optional)

Directions:

  1. Place all ingredients in a large mixing bowl.

  2. Mix with hand mixer or by using your hands until all ingredients are well-combined.

  3. Scoop out heaping spoonfulls of mixture and roll between hands to form small balls.

  4. Place on a baking sheet lined with parchment paper

  5. Refrigerate until firm - at least 30 minutes - transfer to bowl or sealed Tupperware and store in refrigerator until ready to eat - up to one week.

*For a softer “bite” remove portions from refrigerator and allow to come to room temperature before eating.

Bon Appetit!

Delilah Logo.png


Peach Crumble

My sister's friend, Sue, makes the most delicious peach crumble! Since peaches are ripe in my trees, and many of yours too (also available at fruit stands across the country!) I begged her to share her recipe with us. It is soooo simple, and soooo yummy!